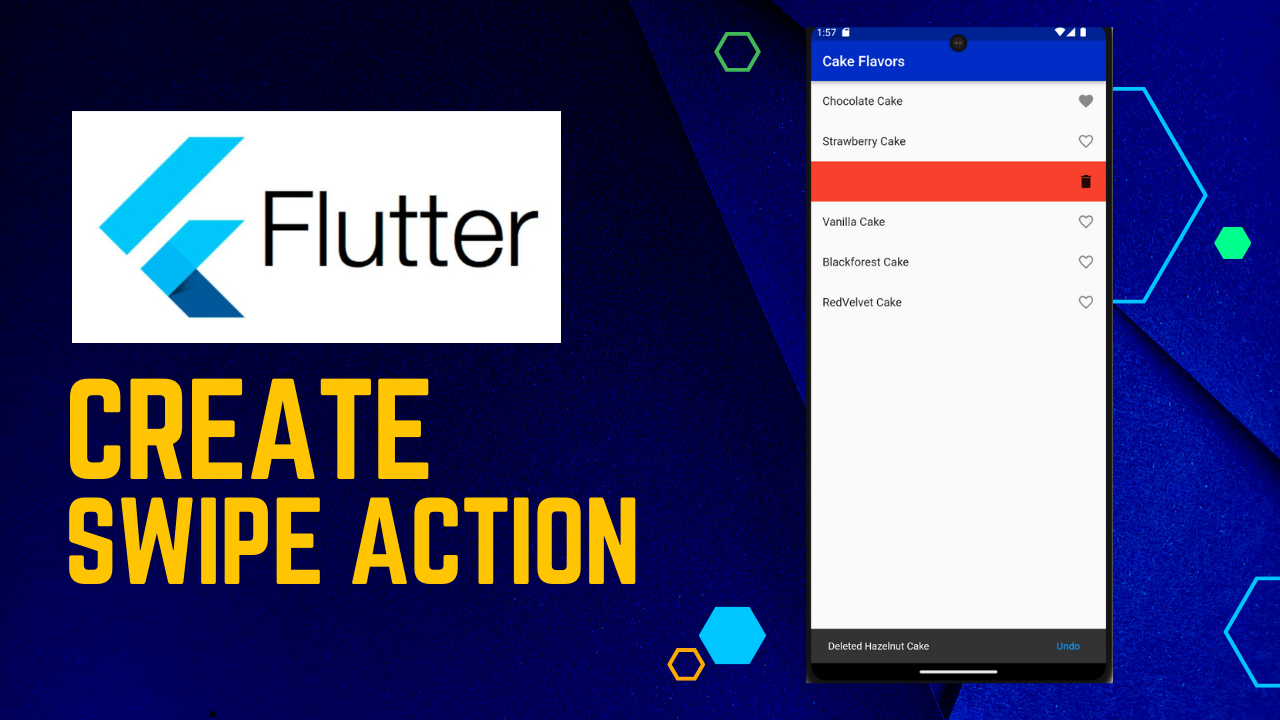
Swipe Actions in Flutter ListView:The Flutter DataTable provides support to swipe a row by setting the SfDataGrid.allowSwiping property to true. Swipe actions will be displayed when swiping a row from left to right or right to left direction. The swipe dragging gesture can be restrict to a certain point on the row by setting the SfDataGrid.swipeMaxOffset property.
Swipe callbacks
The data grid provides the following callbacks to notify the swiping stages:
- onSwipeStart: Called when the swipe offset changes from its initial value. The swipe action can be cancel by returning
false. - onSwipeUpdate: Callled while swiping a row is in progress. The swipe action can be canceled by returning
false. - onSwipeEnd: Called when the swipe offset value reaches the
SfDataGrid.maxSwipeOffsetindicates that the swipe action is complete.
The swipe callbacks provide the following properties in their arguments:
- RowIndex: Defines the swiping row index.
- SwipeDirection: Defines the swipe direction of the swiped row.
- SwipeOffset: Defines the current swipe offset of the row being swiped.
By handling the swipe callbacks, you can use these property values from the arguments to perform any desired action, such as deleting the row, editing the data, and more.
Implement Swiping list
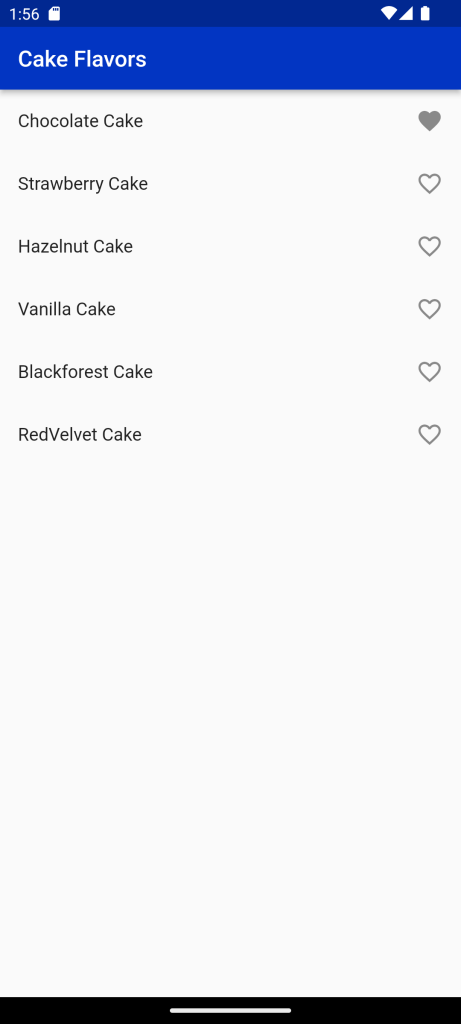
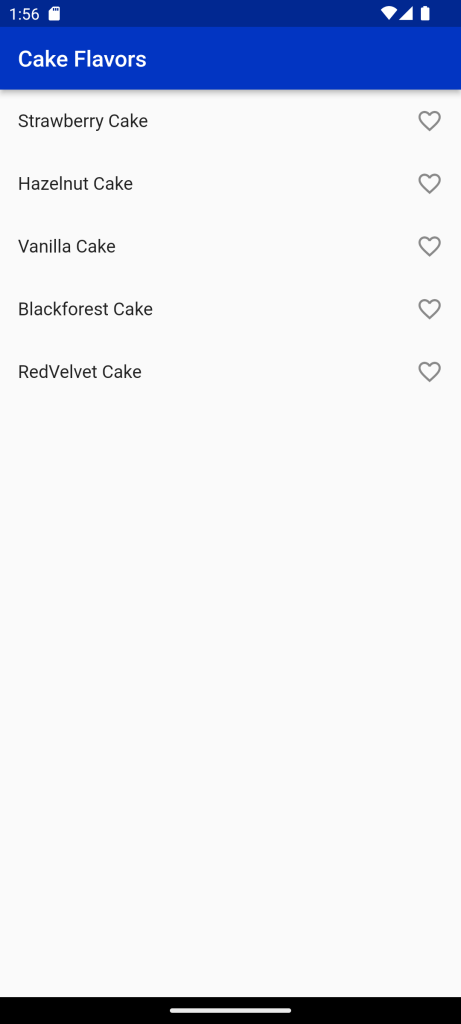
We are going to implement a simple app displaying a list of cake flavors. By swiping a list element to the right, we will add or remove the flavor as a favorite flavor.
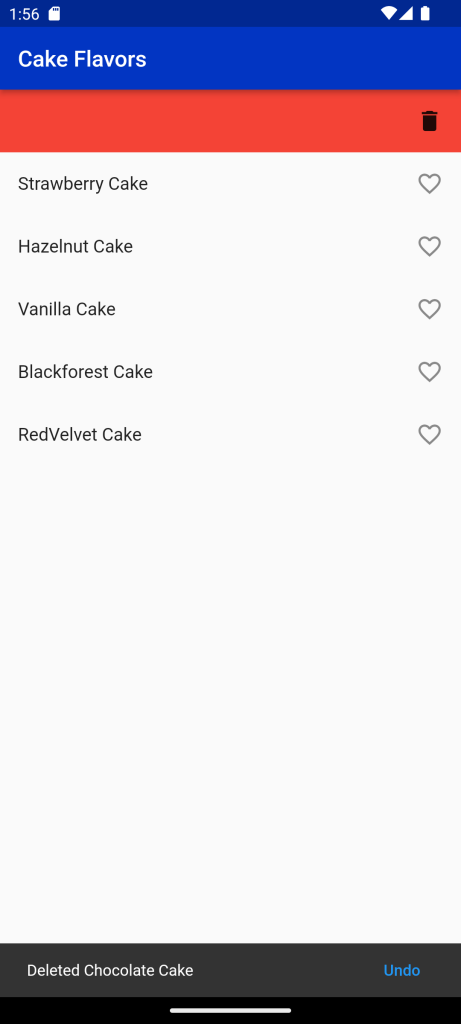
Swiping to the left will be a swipe-to-delete action and removes the element from the list. In this case, a Snackbar is show offering to undo the delete action.
we start by creating a new Flutter app and clean up the generate project code.
Next, we clean up our main.dart
import 'package:flutter/material.dart';
import 'package:demoproject/flavor.dart';

void main() {
  runApp(MyApp());
}

class MyApp extends StatelessWidget {
  @override
  Widget build(BuildContext context) {
    return MaterialApp(
      debugShowCheckedModeBanner: false,
      home: ListPage(),
    );
  }
}
Finally, we create a new file called list.dart and add a StatefulWidget called ListPage. We set up a basic Scaffold with and AppBar like this:
import 'package:flutter/material.dart';

class ListPage extends StatefulWidget {
  const ListPage({Key? key}) : super(key: key);

  @override
  _ListPageState createState() => _ListPageState();
}

class _ListPageState extends State<ListPage> {
  @override
  Widget build(BuildContext context) {
    return Scaffold(
      appBar: AppBar(
        title: Text('Flavors'),
      ),
    );
  }
}
Displaying a list of flavors
To have some content that we can display in our list, we continue by creating a new file called flavor.dart and add a simple class holding all information we need to know about an cake flavor.
Every flavor has a name of type String and an attribute isFavorite which is a bool and is false by default. This is our Flavor class:
class Flavor {
  final String name;
  final bool isFavorite;

  Flavor({required this.name, this.isFavorite = false});

  Flavor copyWith({String? name, bool? isFavorite}) =>
      Flavor(name: name ?? this.name, isFavorite: isFavorite ?? this.isFavorite);
}
We specify the number of flavors that are available using the itemCount attribute and define how the ListView should build the list items by implementing the itemBuilder callback.
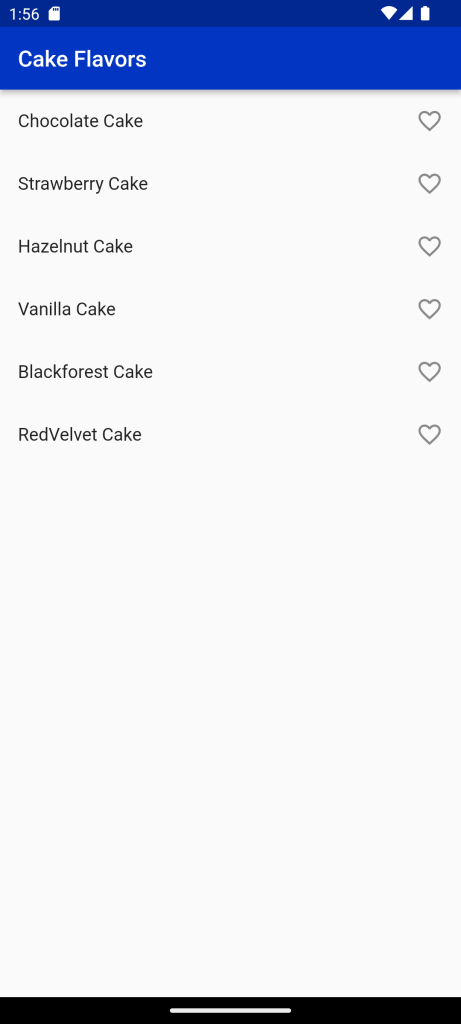
Next we add an icon to each ListTile indicating whether the Flavor is a favorite or not. For this, we add the following line to the ListTile:
trailing: Icon(flavor.isFavorite ? Icons.favorite : Icons.favorite_border),Swipe Action: Toggle Favorite
Next, we add a swipe action to toggle the favorite state of a flavor. For this, we wrap the ListTile in a Dismissible widget. A Dismissible requires to have a Key, so we add it like this:
Dismissible(
  key: Key(flavor.name),
  child: ListTile(
    ...
  ),
);
When swiping an item to the right, we see a green background and a favorite icon.
confirmDismiss: (direction) async {
  if (direction == DismissDirection.startToEnd) {
    setState(() {
      flavors[index] = flavor.copyWith(isFavorite: !flavor.isFavorite);
    });
    return false;
  }
},
Swipe Action: Swipe to delete
Now, we want to add a second action: the item should be deleted when it is swiped to the left side. Additionally, we want to add a different background for this action.
 confirmDismiss: (direction) async {
   if (direction == DismissDirection.startToEnd) {
    ...
   } else {
     bool delete = true;
     final snackbarController = ScaffoldMessenger.of(context).showSnackBar(
       SnackBar(
         content: Text('Deleted ${flavor.name}'),
         action: SnackBarAction(label: 'Undo', onPressed: () => delete = false),
       ),
     );
     await snackbarController.closed;
     return delete;
   }
 },
Full Code:Swipe Actions in Flutter ListView
import 'package:demoproject/flavor.dart';
import 'package:flutter/material.dart';

class ListPage extends StatefulWidget {
  const ListPage({Key? key}) : super(key: key);

  @override
  _ListPageState createState() => _ListPageState();
}

class _ListPageState extends State<ListPage> {
  final List<Flavor> flavors = [
    Flavor(name: 'Chocolate Cake'),
    Flavor(name: 'Strawberry Cake'),
    Flavor(name: 'Hazelnut Cake'),
    Flavor(name: 'Vanilla Cake'),
    Flavor(name: 'Blackforest Cake'),
    Flavor(name: 'RedVelvet Cake'),
  ];

  @override
  Widget build(BuildContext context) {
    return Scaffold(
      appBar: AppBar(
        title: Text('Flavors'),
      ),
      body: ListView.builder(
        itemCount: flavors.length,
        itemBuilder: (context, index) {
          final flavor = flavors[index];
          return Dismissible(
            key: Key(flavor.name),
            background: Container(
              color: Colors.green,
              child: Align(
                child: Padding(
                  padding: const EdgeInsets.only(left: 16),
                  child: Icon(Icons.favorite),
                ),
                alignment: Alignment.centerLeft,
              ),
            ),
            secondaryBackground: Container(
              color: Colors.red,
              child: Align(
                child: Padding(
                  padding: const EdgeInsets.only(right: 16),
                  child: Icon(Icons.delete),
                ),
                alignment: Alignment.centerRight,
              ),
            ),
            confirmDismiss: (direction) async {
              if (direction == DismissDirection.startToEnd) {
                setState(() {
                  flavors[index] =
                      flavor.copyWith(isFavorite: !flavor.isFavorite);
                });
                return false;
              } else {
                bool delete = true;
                final snackbarController =
                    ScaffoldMessenger.of(context).showSnackBar(
                  SnackBar(
                    content: Text('Deleted ${flavor.name}'),
                    action: SnackBarAction(
                        label: 'Undo', onPressed: () => delete = false),
                  ),
                );
                await snackbarController.closed;
                return delete;
              }
            },
            onDismissed: (_) {
              setState(() {
                flavors.removeAt(index);
              });
            },
            child: ListTile(
              title: Text(flavor.name),
              trailing: Icon(
                  flavor.isFavorite ? Icons.favorite : Icons.favorite_border),
            ),
          );
        },
      ),
    );
  }
}
For More: To know about Flutter Credit Card Design UI Implementation.




Leave a Reply